Sometimes it is necessary to add an additional field to the form of a marketing email or a marketing form. Unfortunately, this is not quite as self-explanatory in marketing as on a classic CRM form. A few months ago, for example, I tried to add a field to the form for marketing forms and it broke the designer so badly that I couldn’t use the forms at all. Fortunately, it was only a trial environment. Nowadays emails and forms can be savely adjusted. In this article, I’ll show you how to customize the email and marketing form in Customer Insights.
Customize email marketing form
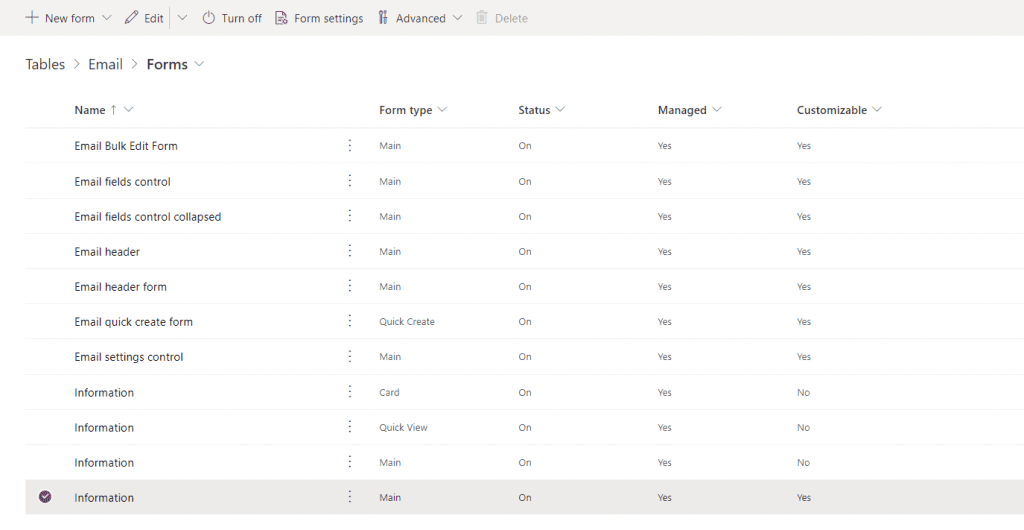
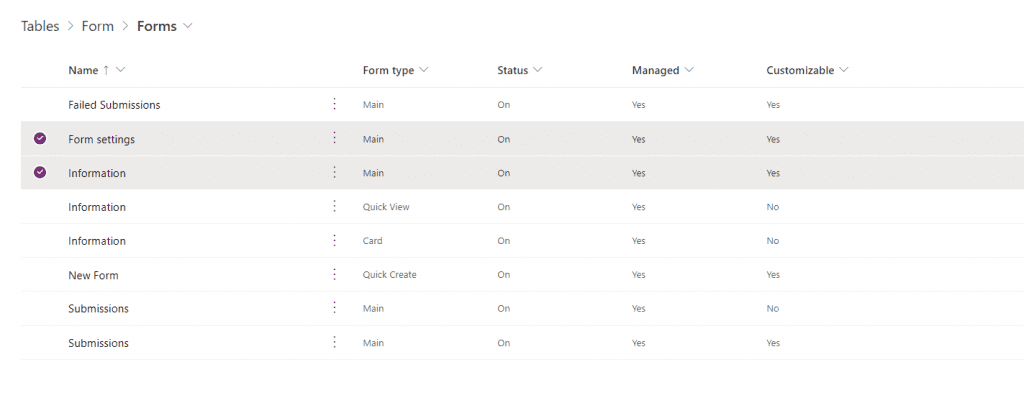
To customize an email form, you have to add the field to two forms in the backend. Otherwise it will not show up on the email form in the frontend. This was already the case in Outbound. In real-time emails, however, it is a little different in real-time. Depending on where exactly your field should be displayed, you choose the respective two forms. One of the two forms is always the Information form. As you can see in my screenshot, there are several main Information forms, but only the ticked one is also “customizable”.
To place your new field on the form, open the form in the editor. Only then will you notice that it looks rather strange in the new Design Experience and you cannot choose where exactly you want to place the field. Therefore, click on the three dots in the top bar and open the form in the classic mode. (I always find it funny that this used to be the standard).
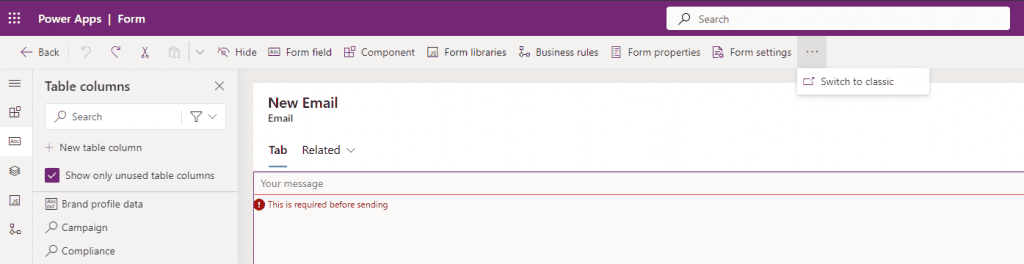
Then you can drag and drop your field into the right place:
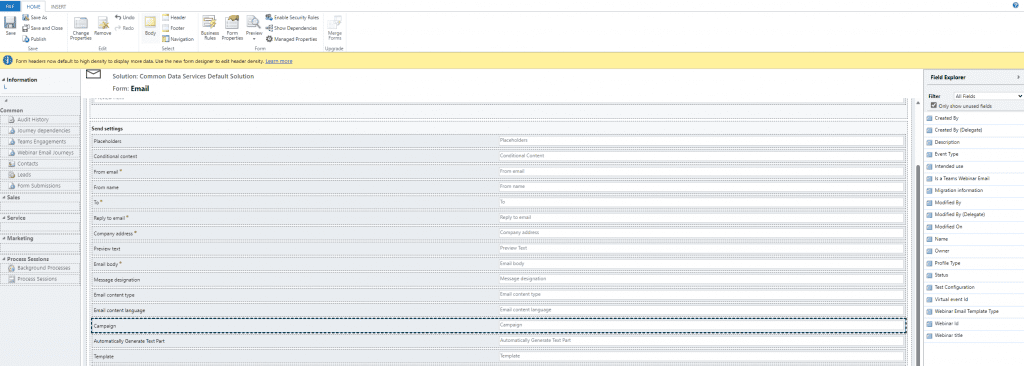
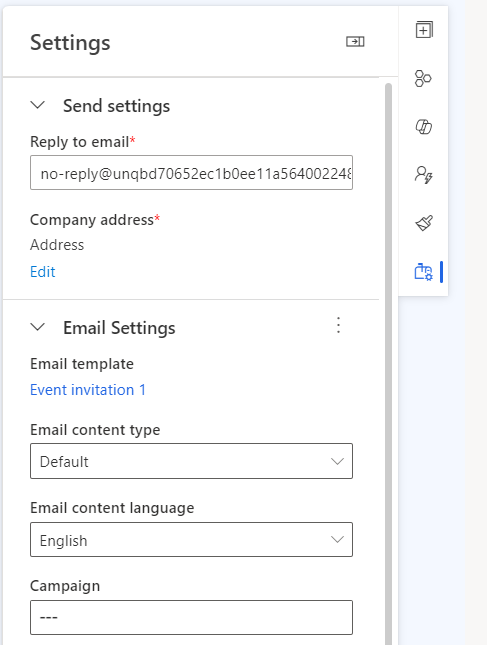
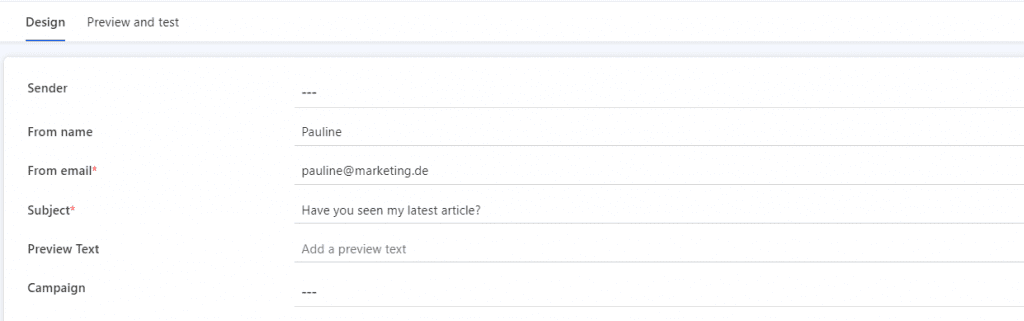
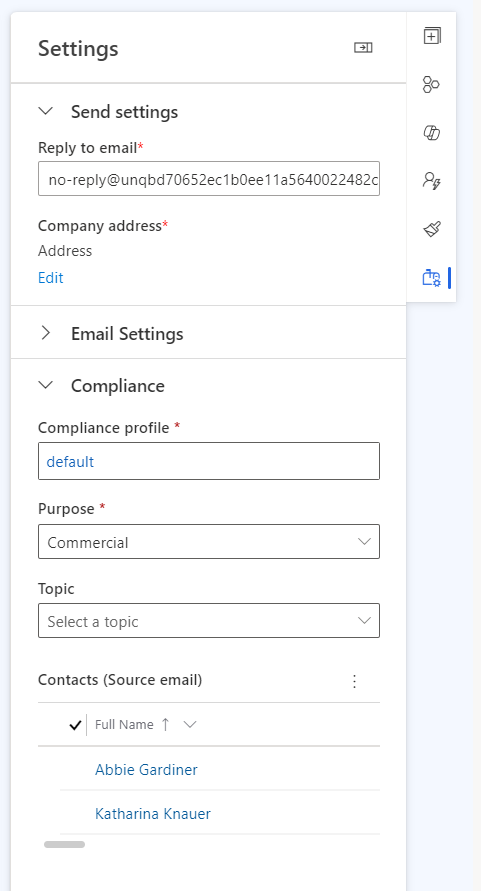
If you want to display your field in the list to the right of the designer in the settings section, you still need to add the field in the form Email header. The way is the same as in the Information form.
If you want your field to be displayed in the send email and subject, add your field in the form Email header form.
If you add a field on the information form, it’s best not to put it at the top as the first field, as this completely ruins the display. Trust me, I’ve tried it.
You can also put a subgrid on the form. I haven’t yet thought of a good use case when this would be necessary, but maybe that will come. It’s best to put the subgrid on the Information and Email header forms. I have seen that it also works if the subgrid is only on the email header form
Customize Marketing form form
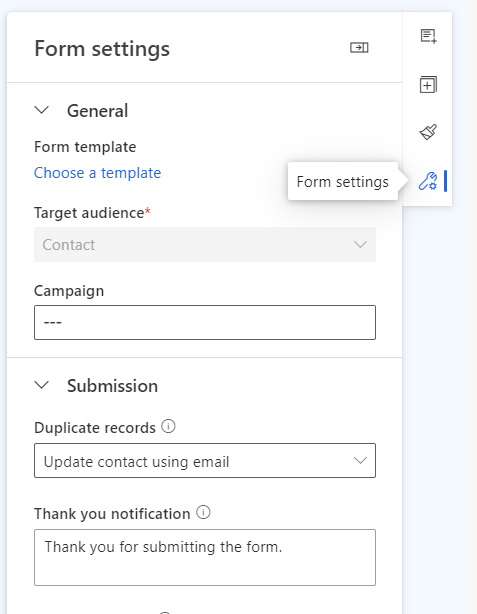
It’s a bit confusing that marketing forms and forms in the CRM have virtually the same name. But here, too, you add your field to two forms: Form settings and Information.
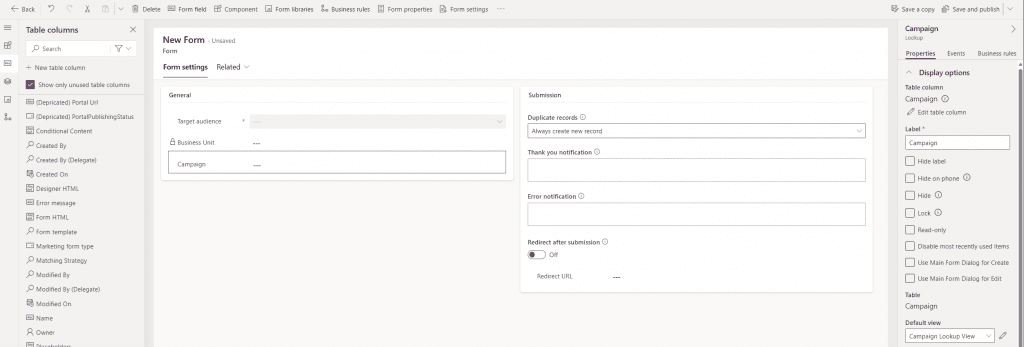
First add the field to the Form Settings form. Fortunately, you can use the modern designer to add it here.
In the Information form, use the classic designer again. I tried to simply drop the field onto the modern designer, but that completely destroyed it again.
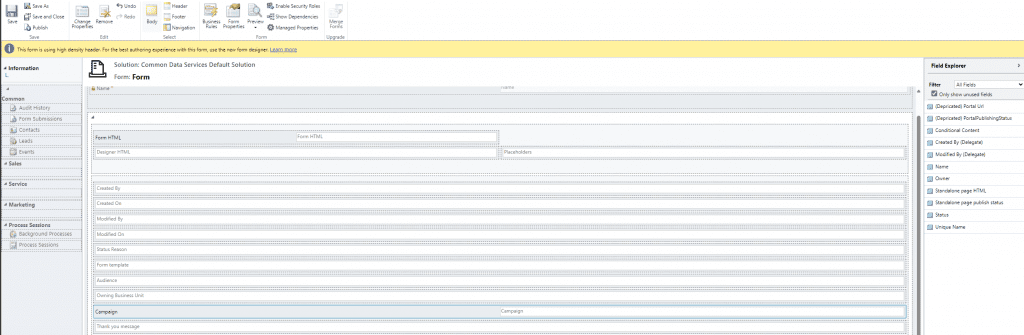
According to the documentation, you should mark the field as hidden on the Information form. I haven’t figured out why, both hidden and not, the field shows correctly on the marketing form.
Summary
As you can see, it is not that complicated to customize the form of an email or a marketing form in Customer Insights. You just need to know how and which forms are the right ones. I think that the explanation in the Microsoft documentation is not quite correct to customize the marketing email. On the one hand screenshots are outdated and on the other hand the differentiation between email header and email header form is missing. I therefore hope that I can shed some light on this. And props to my colleague Michèle, who pointed me to the customizing function for real-time emails and found out about the forms 🙂
References: Customize the email designer – Dynamics 365 Customer Insights | Microsoft Learn, Customize the form editor – Dynamics 365 Customer Insights | Microsoft Learn
***Please be aware: The content is accurate at the time of creation. It may be that Microsoft has made changes in the meantime.***
Check out the FAQ section of my blog as well: Short questions with quick answers! Go to FAQs